Caring for Shower Stone Tiles

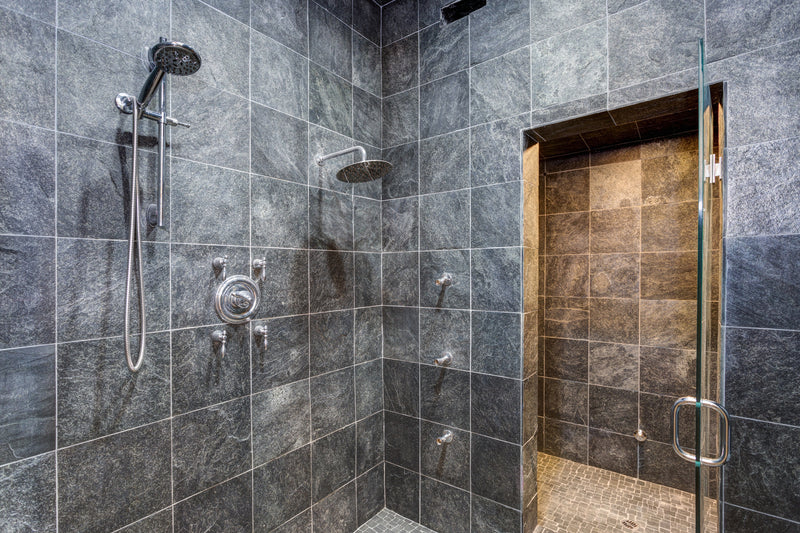
As much as you love the look of your natural stone shower, unfortunately, moisture loves it more. However long you like to linger under the shower stream or relax in the steam, mildew and mold are ready to strike as soon as you’re gone. The result? Shower stone tiles that lose their luster, then grime and fungus build up, and (eventually) degraded tiles that come loose.
To keep your shower stone looking as fresh and inviting as the day you fitted it, follow this regular routine to clean and seal your tiles. It’s as gentle and easy as a full-body scrub and it will protect your tiles from mold, mildew, soapy scum, body oils and hard water deposits.
How Often Should You Clean Your Shower Stone?
We recommend cleaning the shower once or twice a week, as it is one of the most extreme environments in your home. Between intense use by the whole family in the morning and evening, the natural-stone tiles and grout have little opportunity to dry out. In no time, things can get out of hand and you’ll see stains and patches, feel build-up with your feet and fingers, and possibly smell a funky aroma. Mold is more than an aesthetic problem. It could become a health issue, too, so regular prevention and maintenance are required.
- Dry the tiles daily (or after each use) with a microfiber cloth or a squeegee
- Rinse away soap scum (including splashes) after each use.
- Clean the entire shower area weekly to stop mold in its tracks.
- Seal your shower stone tiles 2 or 3 times a year as a preventive measure.

Step 1: Turn off your water supply
As tempting as it may be to multitask by cleaning your tiles as you shower, your passion fruit body wash and loofah are not the right tools for the job. Finish your shower then get to work.
Step 2: Gather your materials
You can keep everything you need in a bathroom cabinet so that there’s no excuse to skip a cleaning session. Here’s your starter kit:
- Scrub Sponge to remove grime and soap scum. It’s textured enough to wipe away build-up and absorbent enough to dry the tiles, but not so abrasive that it will damage the protective stone seal.
- Granite Gold® Shower Cleaner for a streak-free deep clean and our Sealer Wipes to apply the finishing touches. This grime-busting combo recently won the Good Housekeeping Cleaning Awards so you’re in good hands.
- Grout Cleaner (with a brush) to agitate and remove grime in the hard-to-reach areas between tiles.
- Microfiber cloth to dry off the stone when you’re done.
You can learn more on how to clean grout in the shower in our separate blog, but the same key message applies.

The (Granite) Golden Rule of Stone Care
Stone tiles and grout are surprisingly porous. That means moisture can penetrate, stain, and degrade the surface. Conventional household cleaners, such as vinegar and ammonia, strip away the protective seal and allow moisture to get into the stone and grout. That’s why the most important rule of stone care is to use a cleaner and sealant with a neutral pH. The solution? The Granite Gold® family of products.
Step 3. Clean the shower stone from top to bottom
With your cleaning kit at the ready, spray Shower Cleaner liberally from a distance of around 6 inches, allow it to foam, then gently scrub with your Scrub Sponge or cloth. Working downwards means you’re driving residue toward the drain outlet.
Step 4. Rinse off with water
You’re in the right place for a spray wash, so rinse down the tiles and take care to sluice all the suds and scum away. Use cold water so that there’s no steam in the air to settle on the tiles while you’re trying to complete the next step.
Step 5. Dry your tiles
Using your trusty microfiber cloth (or paper towels) dry off the tiles, paying particular attention to the corners and edges where moisture can hide.
Step 6. Seal for protection
Natural stone shower sealing requires a more regular schedule than most stone countertops.
Act immediately if you see stone darken after a shower. That’s a sign that moisture has penetrated the seal or grouting.
- Apply our Granite Gold Sealer on dry stone. It works on granite, limestone, marble, travertine, slate and all other natural stone. Work in small sections at a time, as directed, gently buffing the sealer into the stone with a lint-free cloth.
- Do not allow the sealer to dry (to prevent hazing), but buff instead with another lint-free cloth.
- You may want to repeat the process 2-3 times (20 mins apart) for the most resilient seal.
Step 7. Polish for a perfect finish
Allow 24 hours for your Gold Sealer to work its magic before applying the finishing touches with our Granite Gold® Polish. This streak-free formula not only brings out the luster from your tiles, but also gives another protective layer to keep moisture out of your stone. As with the Sealer, apply it in patches with a lint-free cloth and buff dry.
Warning! Do not use Polish on the floor tiles. A shiny but slippery surface is not what you want in the shower.
Maintain Your Stone Shower Tiles with a Simple Routine
Regular maintenance is key to keeping your stone shower tiles in tip-top shape. With a simple routine of weekly maintenance cleans and the occasional deep clean and resealing, you can keep your stone shower looking like new for years to come. The Granite Gold family of products makes it easy to care for your natural stone and maintain a beautiful, inviting shower space. Happy cleaning!
As always, you can count on the Granite Gold® family of products to look after your stone.